Amazon WebServices (AWS) provides a broad range of services for data storage (structured, unstructured) for collecting real-time data and also analyzing tools.
We can use these tools collectively within AWS environment and process the data, analyse it and gain insights from it.
In this article, we will discuss how data stored in AWS is transferred to an analytical tool and generate reports to get insights from it. We use below AWS services for this process:
Simple Storage Service (S3): This is an object-based storage service provided by AWS. It is designed for Content, Media, Software Storage & Distribution, Data Archiving, Backup & Recovery, Big Data, Data Analytics, Static Website Hosting, Hybrid Cloud Storage, and Disaster Recovery. Amazon S3 has a simple web services interface that you can store and retrieve any amount of data, at any time from anywhere on the web.
Athena: Athena is an interactive Data Analytics tool for data analysing in Amazon S3 using standard SQL queries. It is a server-less service, so there is no complexity in setting up the environment and maintaining the infrastructure. Athena will store the metadata of data in S3. Once a query runs in Athena, by using the metadata it will fetch the data from S3.
QuickSight: Quicksight is a cloud-based Business Intelligence service that is used to analyze data from your own data sources or AWS data sources to deliver insights by using a robust in-memory engine. QuickSight is used to create interactive dashboards and can be shared with others.
To begin with , we will load the data into AWS using S3 buckets. We can store both structured and unstructured data in S3 buckets.
Procedure to create an AWS S3 bucket:
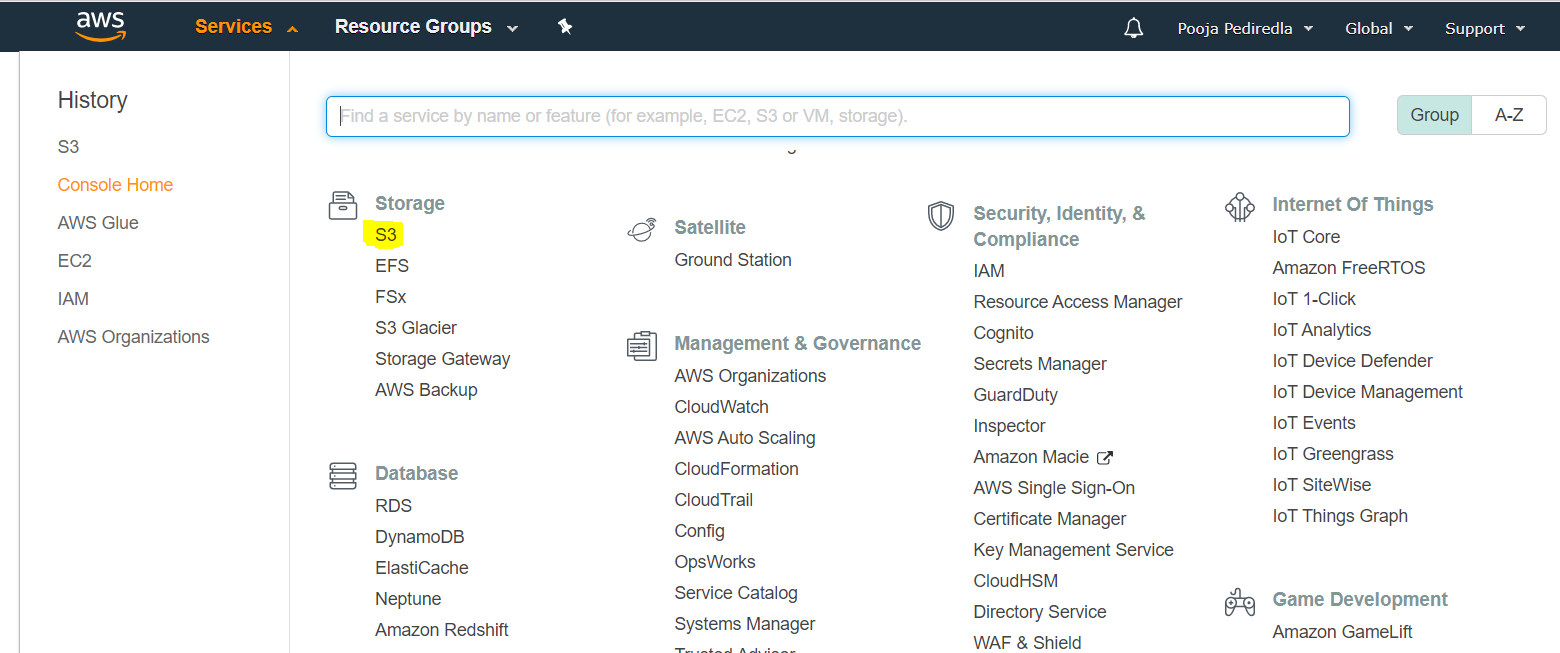
A. Login to your AWS console. You will find Services on the screen, click on it, where you find different services that have been provided by AWS. For us, we need Storage services under which S3 is present.
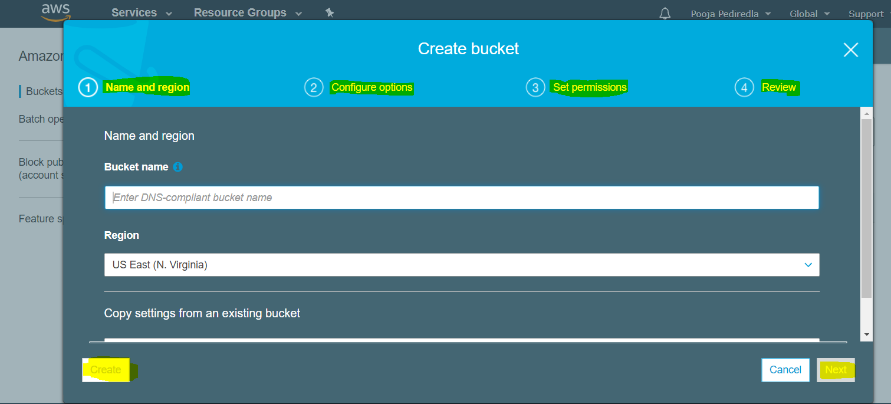
B. If you already have a bucket then skip and move further or continue with this step to create a New Bucket in S3 by clicking on create bucket option.

C. There are four steps involved in creating a bucket:
- Selecting a unique bucket name
- Configuring options like versioning
- Setting bucket access permissions to public
- Review
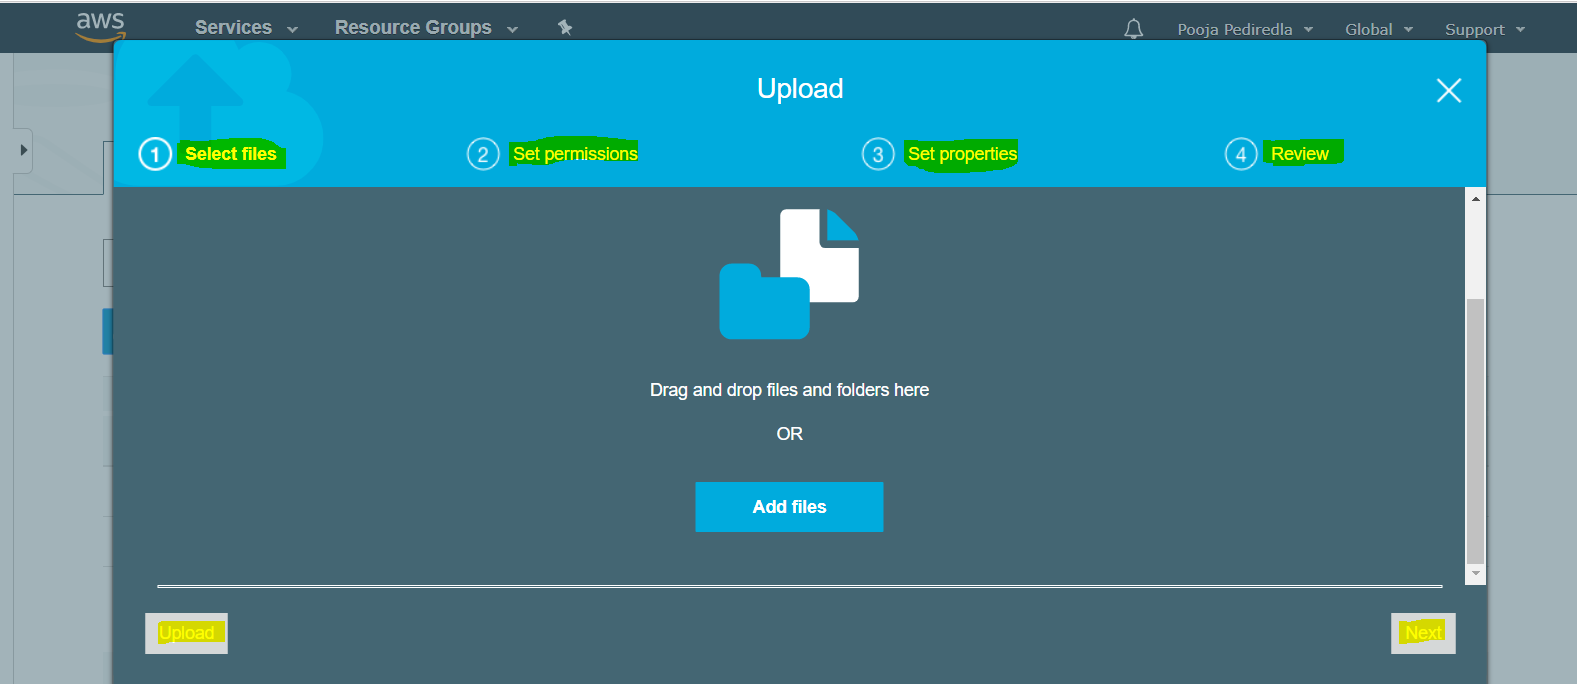
D. After creating a bucket, create a new folder and upload all your CSV files
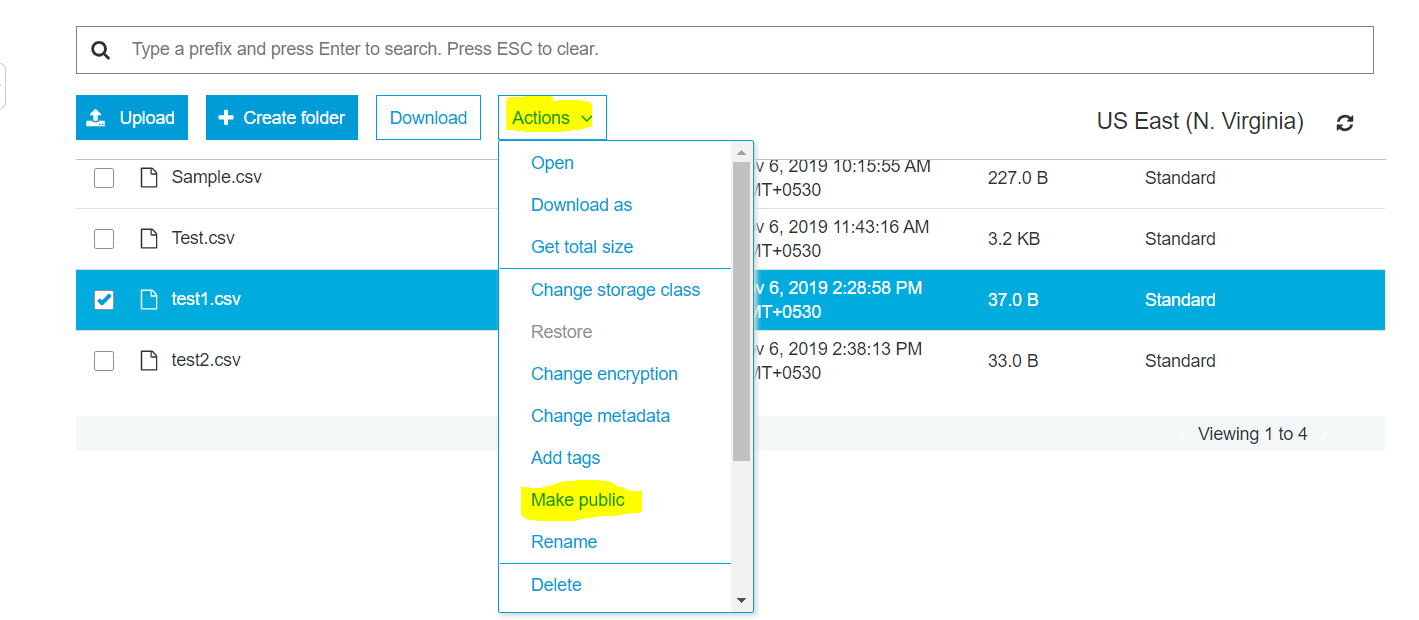
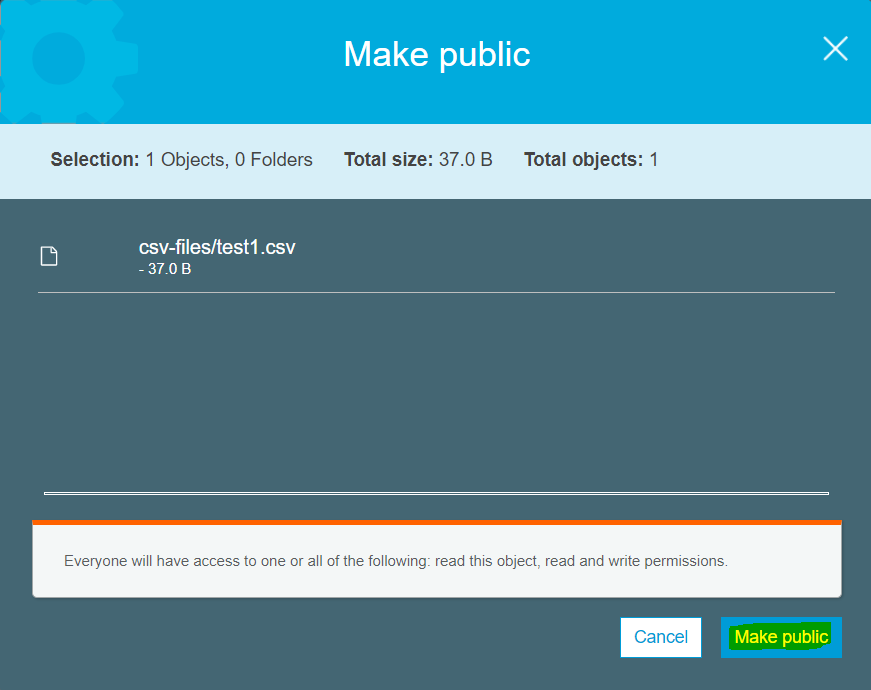
E. Select the files which you want to use in Athena and make them public by clicking on Action, selecting make public option A new page pop ups and click on make public option. Your file will be publicly available now and you can use this file for Athena.
Need for Athena:
Athena is used to transform the data from unstructured data coming from S3 bucket to Structured data before transferring it to Quicksight. Athena is used to create schema for the flat file in S3 and run ad-hoc queries.
Procedure to fetch data from S3 to Athena:
- Go to services on top and select Athena in Analytics.

2. Click on create table option. A drop-down menu appears after clicking, choose “from S3 bucket data” option.

3. Now we have to create a Database and Tables to store the data transferred from S3 bucket. Its metadata is stored in Athena. Below are the steps to create a database.
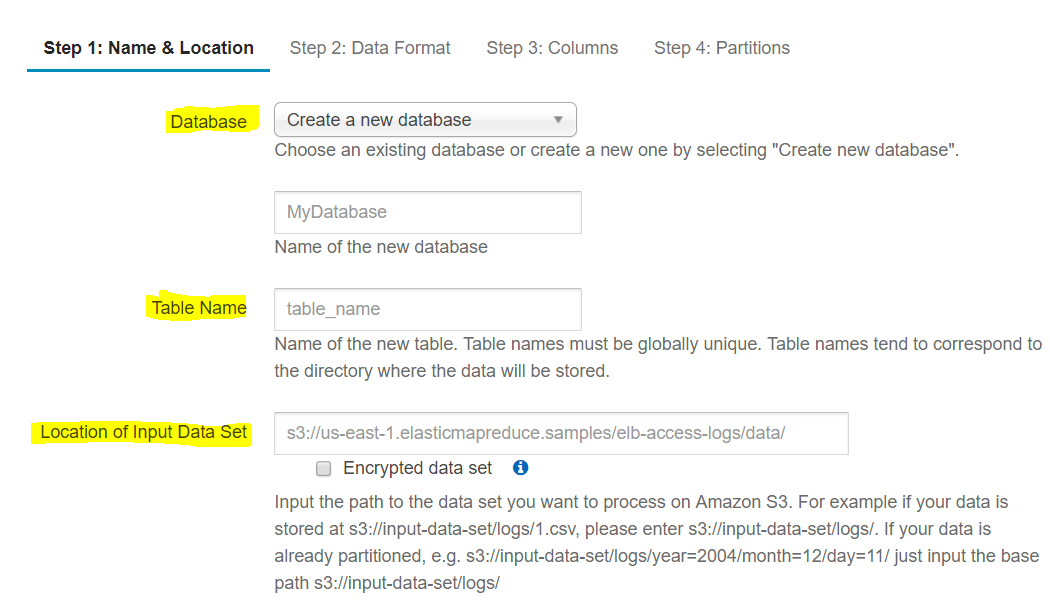
Step 1: Now create a new database by giving a name to it and a table name. Path of the S3 bucket you have kept your files s3://bucket Name/folder/ is to declared and Click Next.
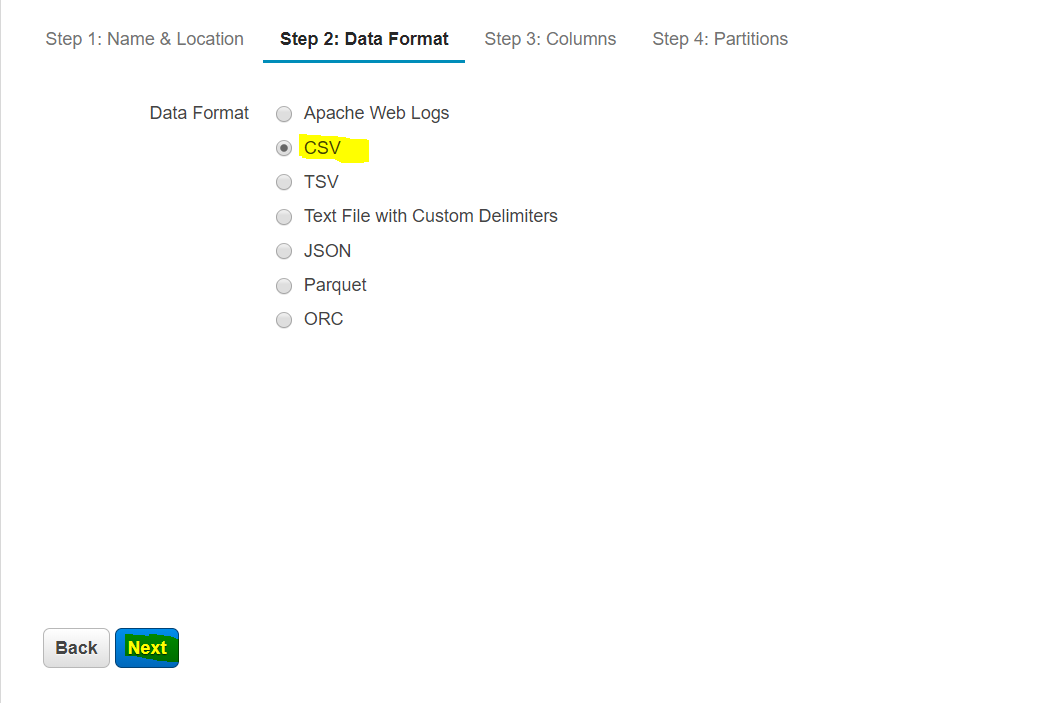
Step 2: Next, you have to select the Data Format in which your data file has been stored in S3. Athena supports multiple data formats such as Apache weblogs, CSV, TSV, Text File with custom delimiters, JSON, Parquet, ORC. Here, in this case, we are using CSV file format and click next.
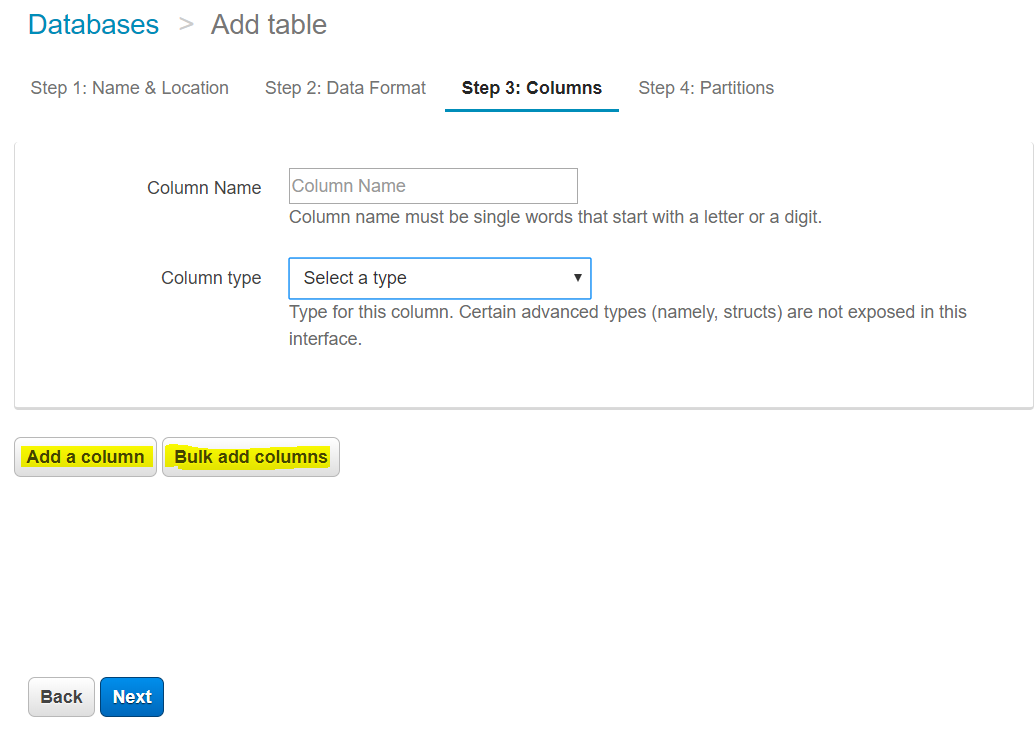
Step 3: Now you can add columns along with data type which is equivalent to the columns in your CSV file to create a schema for the file in Athena. You can do that by adding one by one column using “Add a Column” or by adding bulk of columns at a time using “Bulk Add Columns” option and click “Next”.
Step 4: This step helps you to create a partition using Add a partition if you required in your table and click Create table.
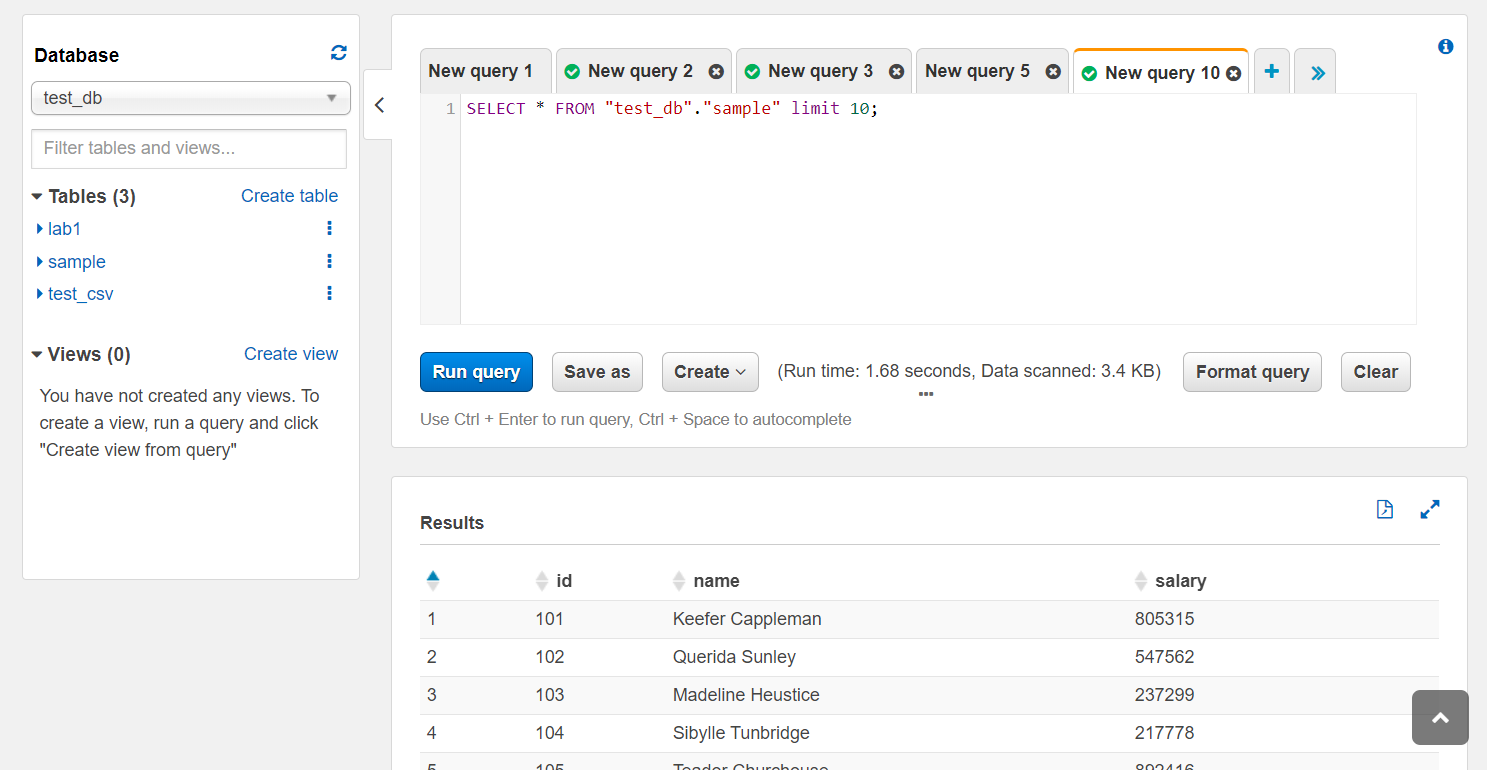

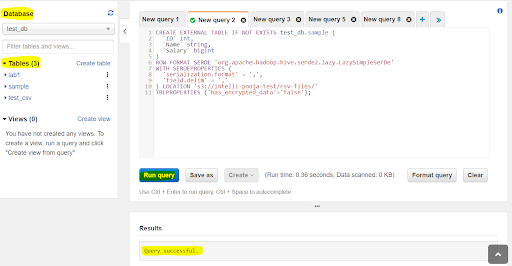
4. Athena generates a query for creating a table by clicking on the run query, Table will be successfully created in the Athena database.
Now you can start querying on the S3 data by using the Athena database.
Procedure for connecting Athena and QuickSight:
Data transformed in Athena is transferred to Quicksight using below steps:
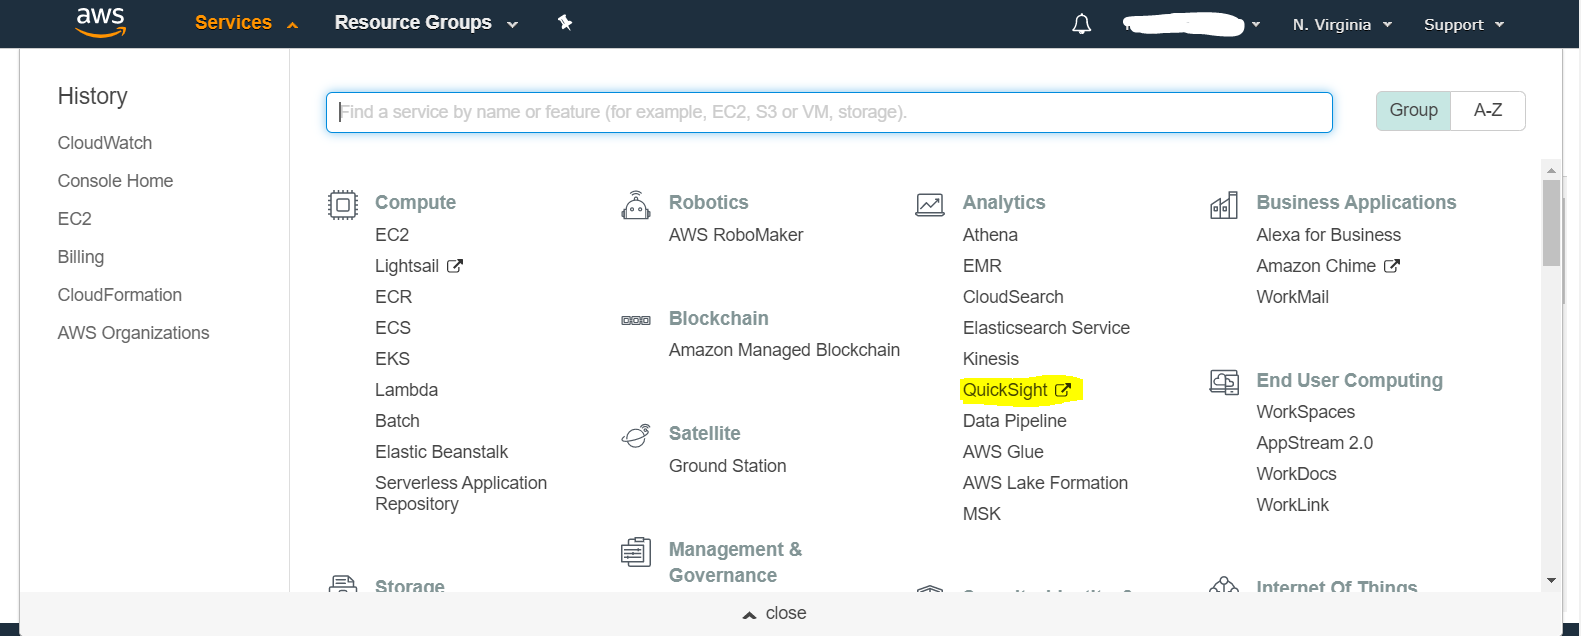
A. Login to your AWS console. You will find Services on the screen, click on it, where you find different services that have been provided by AWS. For us, we need Data Analytics services under which QuickSight is present.
B. If you are a first time user, then you have to log in to QuickSight with your Account ID.
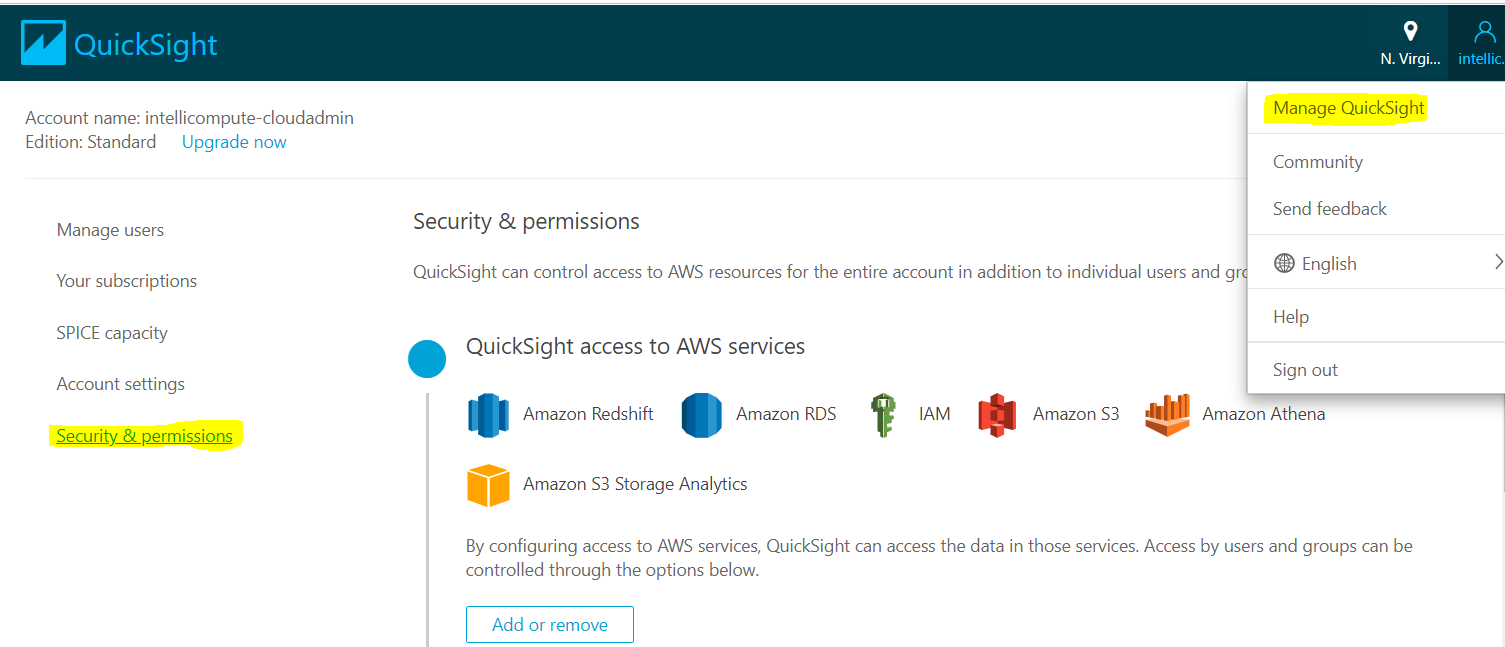
In order to access the data from sources like Athena or Redshift,access permissions need to be set up in Quicksight .This can be done by following below steps:
- Click on Account log and go to Manage QuickSight.
- Click on to Security & Permissions on your left panel.
Click on the Add or Remove option.You will find different AWS Services which can be attached or removed from QuickSight.
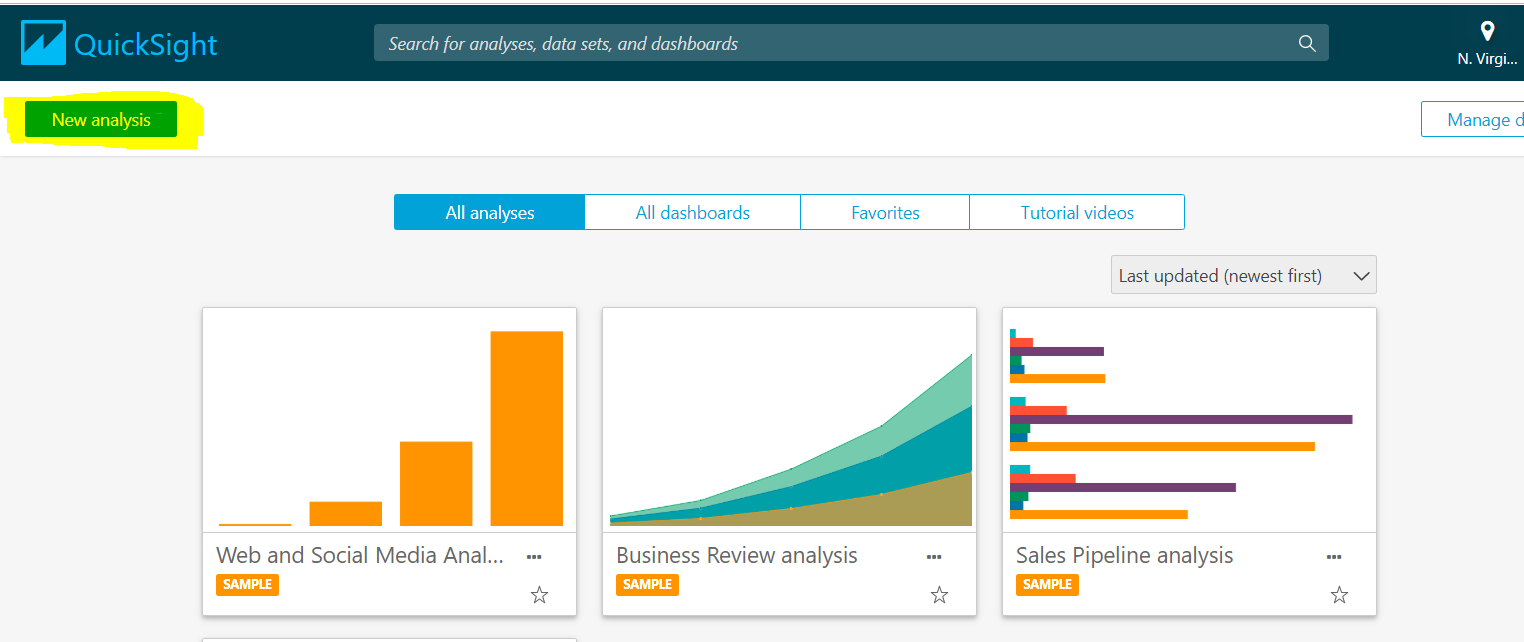
C. Once it is done, QuickSight home page opens where you see different options like New Analysis, All Analyses. To start a new report, click on New Analysis on the top left corner of the page.
D. Now a new page appears in front of you where you can create a new data set. A data set is a collection of tables in databases or a file if you are connecting to Amazon S3, which is one of the data sources. A data set stores the raw data as well as the changes you have performed, such as renaming the field or changing its data type.
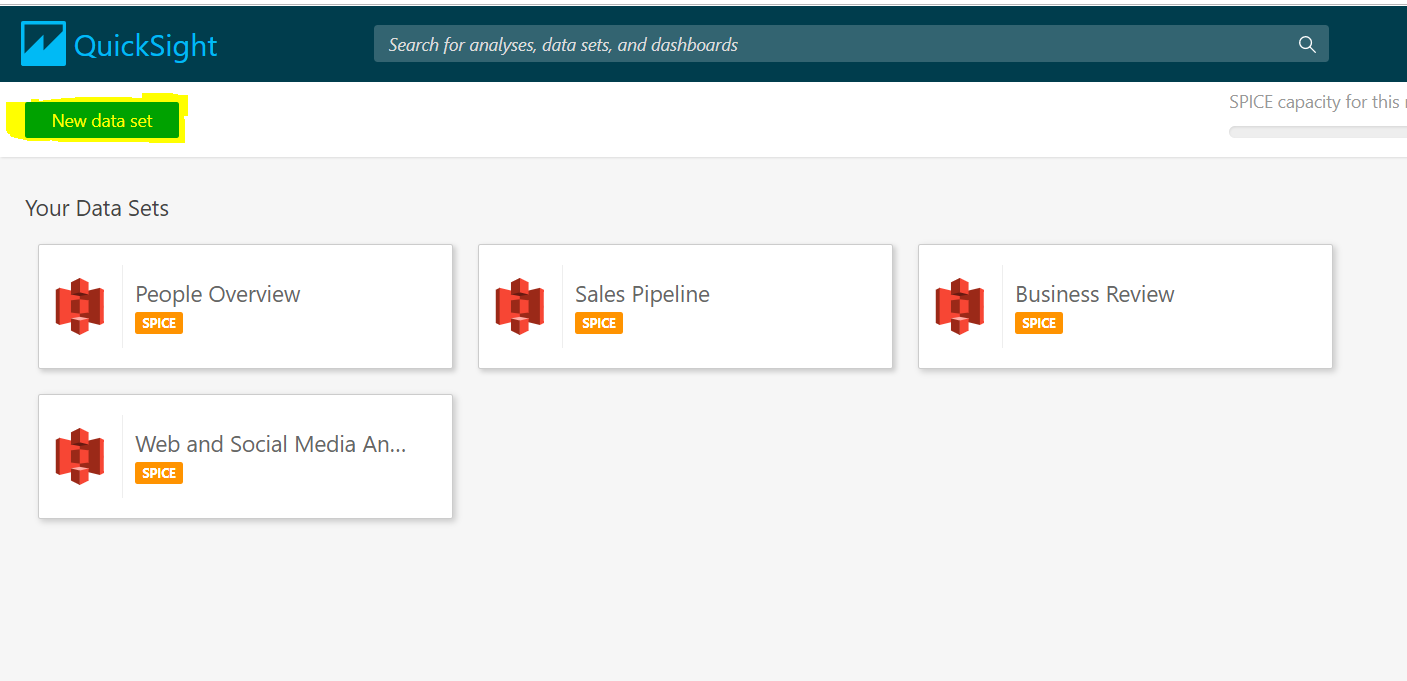
E. After clicking on Data sets, now you have to choose the data source from the existing data sources which you have created already or connect to a new data source which amazon has provided with different choices, such as
- A local file or Excel file using upload a file option.
- Salesforce – credentials must be provided.
- Amazon Redshift, Athena, Amazon RDS, and other databases need to provide details for server, database hostname, and valid credentials for the connection.

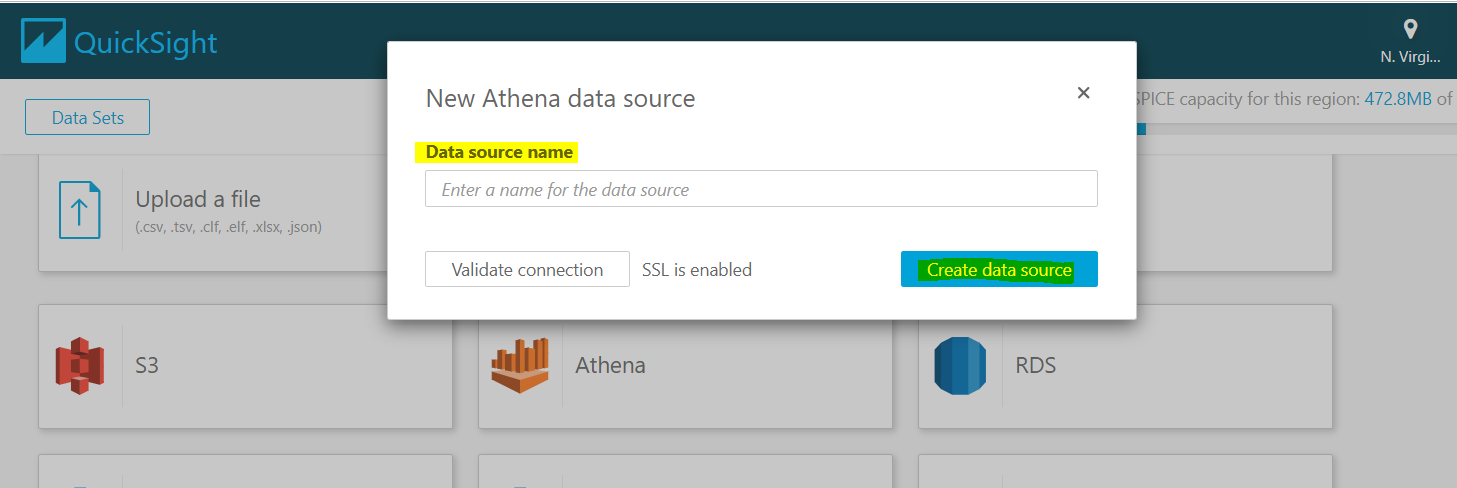
F. Once you selected Athena then you have to define Data sources name and click on Create data sources.
G. Choose the data source and the table where you want to perform analysis and then your data will be imported to SPICE for quicker analysis or you can get data by writing a query directly.
Once the validation is completed, then the connection has been set up to Athena. Here we have two ways to select a table
- Use Custom SQL or
- Choose a table from the list
Writing a custom SQL query with Use custom SQL option, you can choose to edit/preview data for data preparation or Choose Confirm query to validate SQL query without errors.

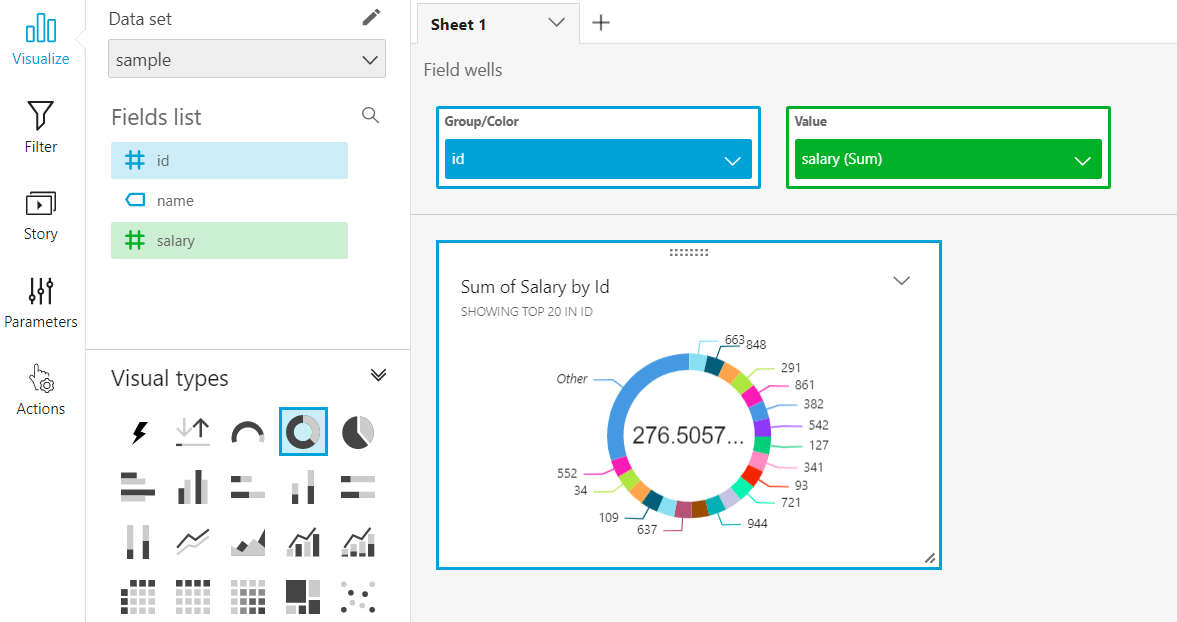
H. QuickSight Visuals is a graphical representation of the data by using different visual types like a pie charts, bar charts, line charts, maps, etc. We can also apply filters for both regular or calculated fields of the visual data. QuickSight filters are also used to exclude a visual element representing a particular value. The story option is used when we have to show two different charts with different filters in a single report. We can access the dashboard by using parameters.
This way, unstructured data stored in S3 is modified using and Athena and transferred to Quicksight to generate reports and get insights from them.


Leave A Comment